


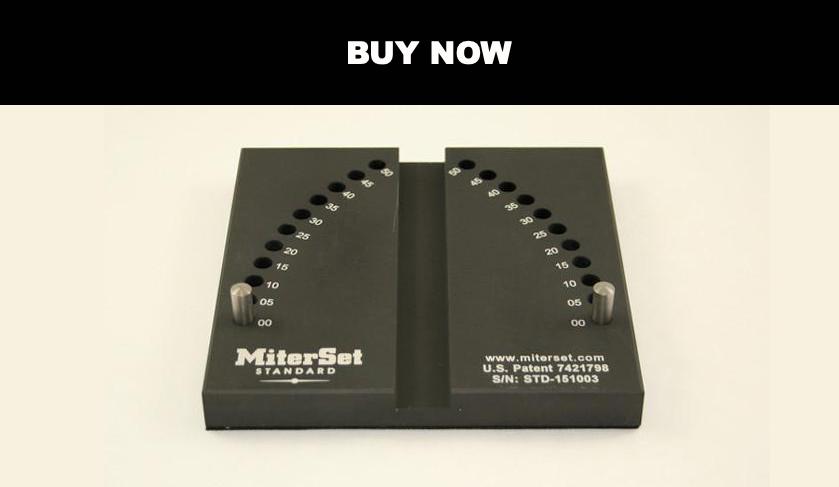
MiterSet Standard
MiterSet Standard sets your miter gauge to cut perfect angles from .5° to 52.5° in .5° increments.

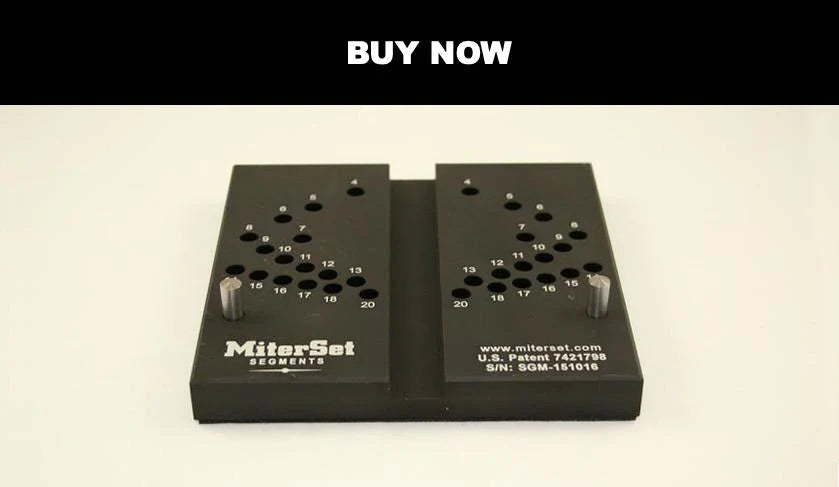
MiterSet Segments
MiterSet Segments sets your miter gauge to cut up to 20 perfect segments for your glue-up project.

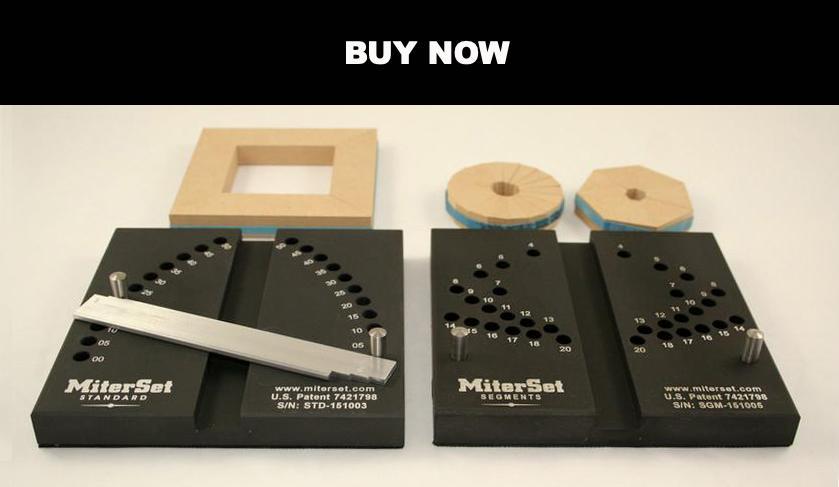
MiterSet Package
Purchase both MiterSet Standard & Segments and never cut a bad angle again!
Effortlessly Cut Perfect Miter Joints & Wood Segments when you set your Table Saw's Miter Gauge with MiterSet.
Just place your Miter Gauge in the Miter Slot, set the Pins, and Lock Down Your Angle.
IT'S THAT SIMPLE! NO GAPS - NO SANDING - NO WASTE.
12Kings Corporation is a small family owned American business located in Arlington Virginia, that distributes quality woodworking tools. Read More...